How to Install Zsh, Oh-My-Zsh, Fonts-Powerline & Plugins on Ubuntu 18.04+ and MacOS
Introduction
Enhancing the capabilities of the terminal is a pivotal upgrade for developers seeking to streamline their command line work. Zsh, or Z Shell, accompanied by Oh-My-Zsh, Fonts-Powerline, and various plugins can transform a mundane command line into a rich, visually appealing, and highly functional experience. This detailed guide focuses on setting up these tools on both Ubuntu 18.04+ and MacOS.
What is Zsh?
Z Shell, or Zsh, is an extended version of the Bourne Shell (sh), with plenty of new features, and support for plugins and themes. It’s popular for its interactive features, like spell check and programmable command completion.
Why Oh-My-Zsh?
Oh-My-Zsh is an open-source, community-driven framework for managing Zsh configuration. It comes packed with thousands of helpful functions, helpers, plugins, themes, and a few things that make you shout, “Oh My ZSH!”
Installing Zsh on Ubuntu 18.04+ and MacOS
Before installing Oh-My-Zsh, you will first need to install Zsh itself. Follow these steps for both operating systems:
- On Ubuntu: Open your terminal and execute
sudo apt install zsh. Confirm the installation and switch to Zsh by typingzsh. - On MacOS: Zsh is likely already installed (check with
zsh --version). If not, you can install it using Homebrew:brew install zsh.
Setting Up Oh-My-Zsh
Next, install Oh-My-Zsh by running the following command in your terminal:
sh -c "$(wget https://raw.github.com/robbyrussell/oh-my-zsh/master/tools/install.sh -O -)"
This command works for both Ubuntu and MacOS.
Installing Fonts-Powerline
Fonts-Powerline are patched fonts that include additional glyphs. These are essential for displaying certain characters in your terminal and enhancing its appearance. Follow the steps below:
- On Ubuntu: Execute
sudo apt-get install fonts-powerline. - On MacOS: Use Homebrew to install the fonts with
brew install homebrew/cask-fonts/font-anonymous-pro-for-powerline. Alternatively, install the fonts manually by downloading them from GitHub and adding them to your system fonts.
Configuring Zsh and Oh-My-Zsh
With Zsh, Oh-My-Zsh, and Fonts-Powerline installed, now it’s time to configure them to suit your needs. Consider tweaking the following via the .zshrc file in your home directory:
- Changing themes: Oh-My-Zsh comes with many beautiful themes. To change your theme, set
ZSH_THEME" in your .zshrc file to any theme you like. - Adding plugins: Oh-My-Zsh supports plugins that can greatly enhance your workflow. Common ones include
git,npm,docker, andpython. Activate them by adding to the plugins array in your .zshrc.
Optimizing Your Configuration
For ultimate productivity, optimize your terminal's behavior. Consider these enhancements:
- Syntax highlighting: Install the zsh-syntax-highlighting plugin to have commands visually validated as you type. It makes spotting errors much easier.
- Autosuggestions: The zsh-autosuggestions plugin suggests commands as you type based on your history and completions.
Conclusion
With Zsh, Oh-My-Zsh, Fonts-Powerline, and various productivity plugins installed, your terminal is now not just a tool, but a powerful ally in your development workflow. These changes should make your command line experience more functional, efficient, and visually appealing. Enjoy the enhanced functionality of your upgraded terminal and happy coding!
Thank You for Reading this Blog and See You Soon! 🙏 👋
Let's connect 🚀
Latest Insights
Deep dives into AI, Engineering, and the Future of Tech.
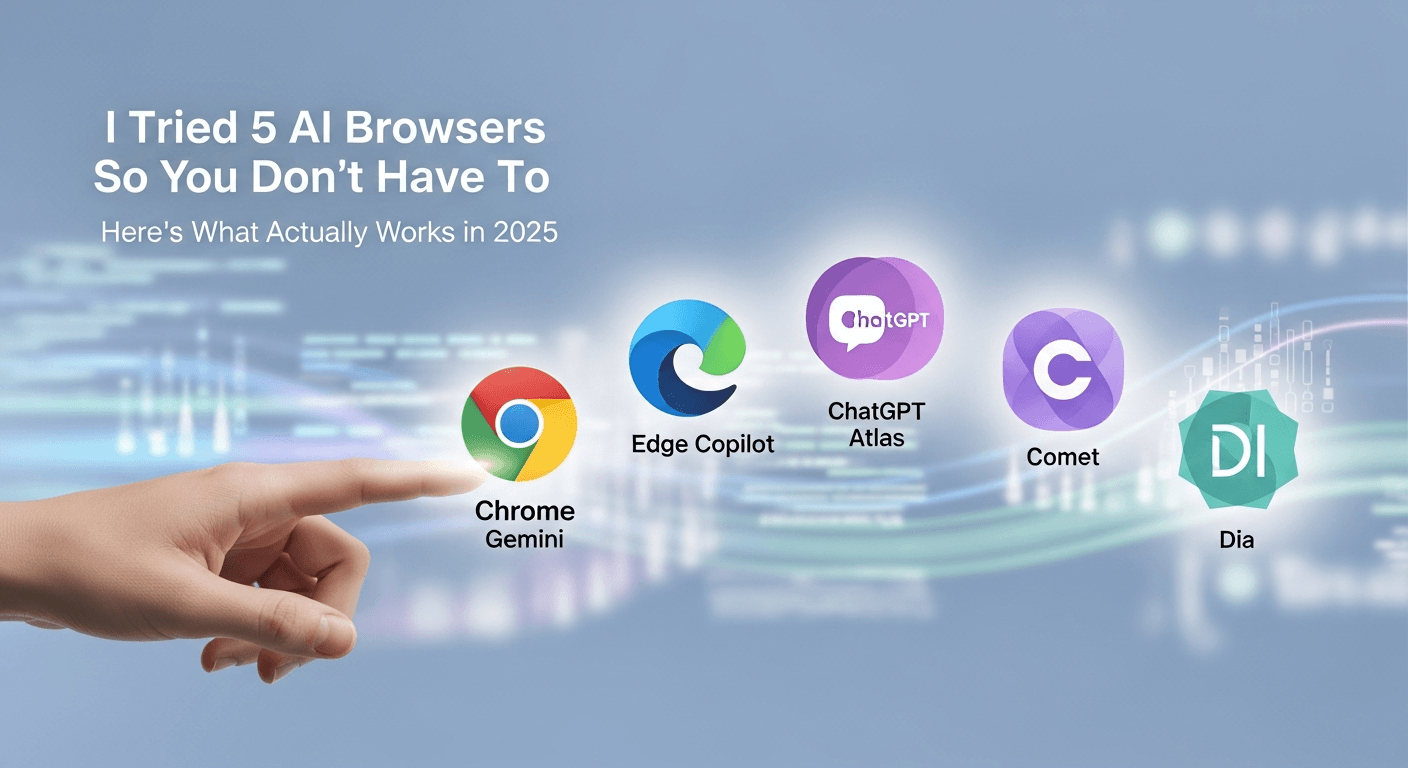
I Tried 5 AI Browsers So You Don’t Have To: Here’s What Actually Works in 2025
I explored 5 AI browsers—Chrome Gemini, Edge Copilot, ChatGPT Atlas, Comet, and Dia—to find out what works. Here are insights, advantages, and safety recommendations.
Read Article


